Frame Designer - Frame and Mount - Full Picture
To make ordering as simple as possible you only enter your
picture size, the software will calculate all other sizes and apply
all tolerances from this input automatically.
How to measure and order –
A picture frame with a mount for the full size of your picture.
1 – Measure the full width and height – on step one of Frame designer
this is the picture size to enter, the system adds a frame to the size.
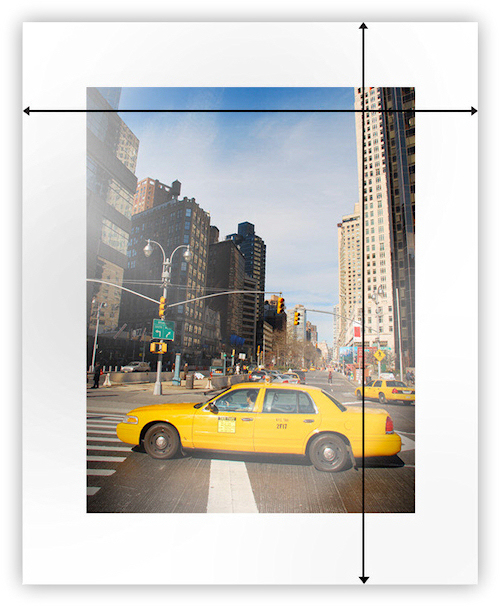
2 – When you add a mount to the size on the ‘Select Mount’ step
the size is automatically reduced by 8mm – this is done so the size sits
behind the aperture (4mm all around) and cannot fall through!
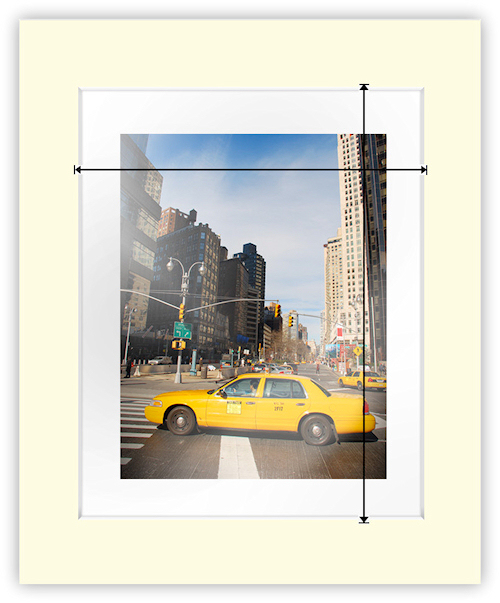
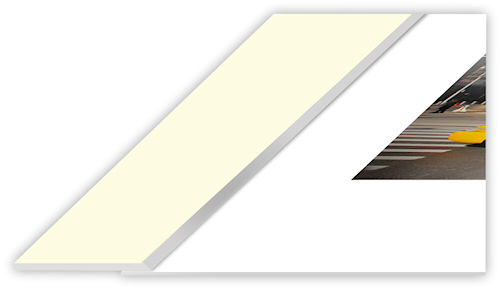
3 – Enlarged view of the size ‘BEHIND’ the aperture in the mount.
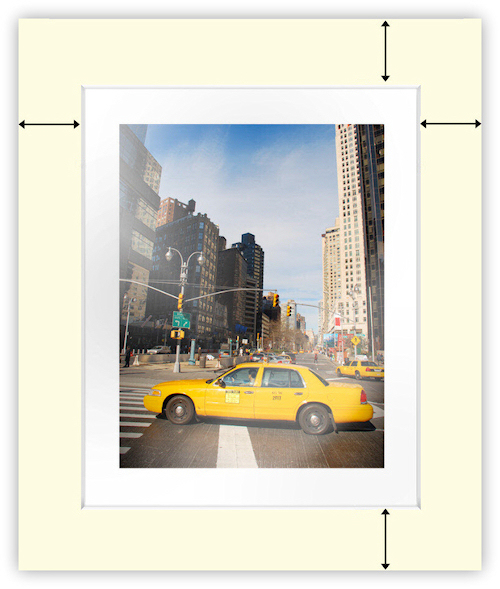
4 – The border widths are added on to the reduced size which adds
up to the external mount and internal frame size.
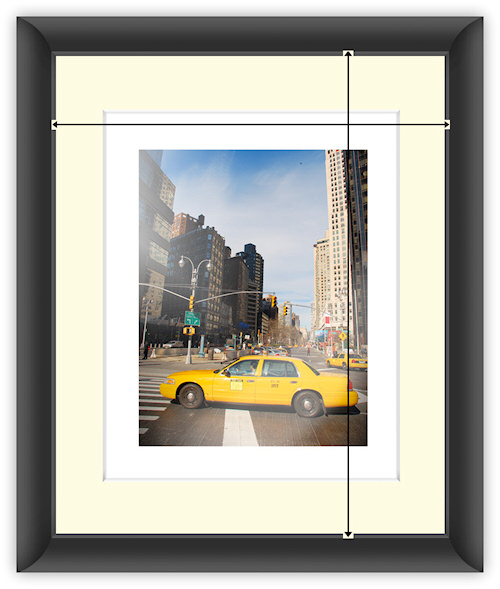
5 – The mount then fits ‘INSIDE’ the frame behind the rebate.
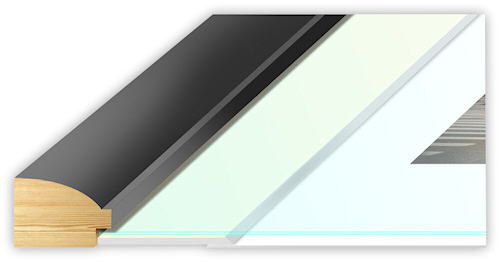
6 – Enlarged view of the mount ‘INSIDE’ the frame behind the rebate.
If you require a quote for a picture mount and a picture frame.
To do this we require a diagram that includes all
EXACT dimensions for manufacture (not the picture size).
The quickest and easiest way to do this is for you to draw a diagram on
paper and either scan or take a photograph of it and email it to us.
Example Diagram.
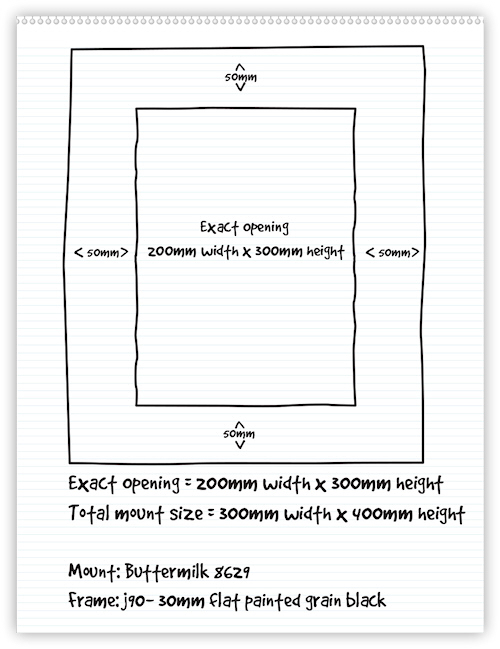
On the diagram be sure to include.
1 – The EXACT size of the aperture in MM (not the picture size)
2 – The border widths in MM
3 – The total size of the mount in MM
4 – The mount description and code
5 – The picture frame code and description
In the email be sure to include.
1 – Your full name
2 – The full delivery address
3 – A contact number for delivery
We then follow the diagram exactly for quotation and manufacture.
