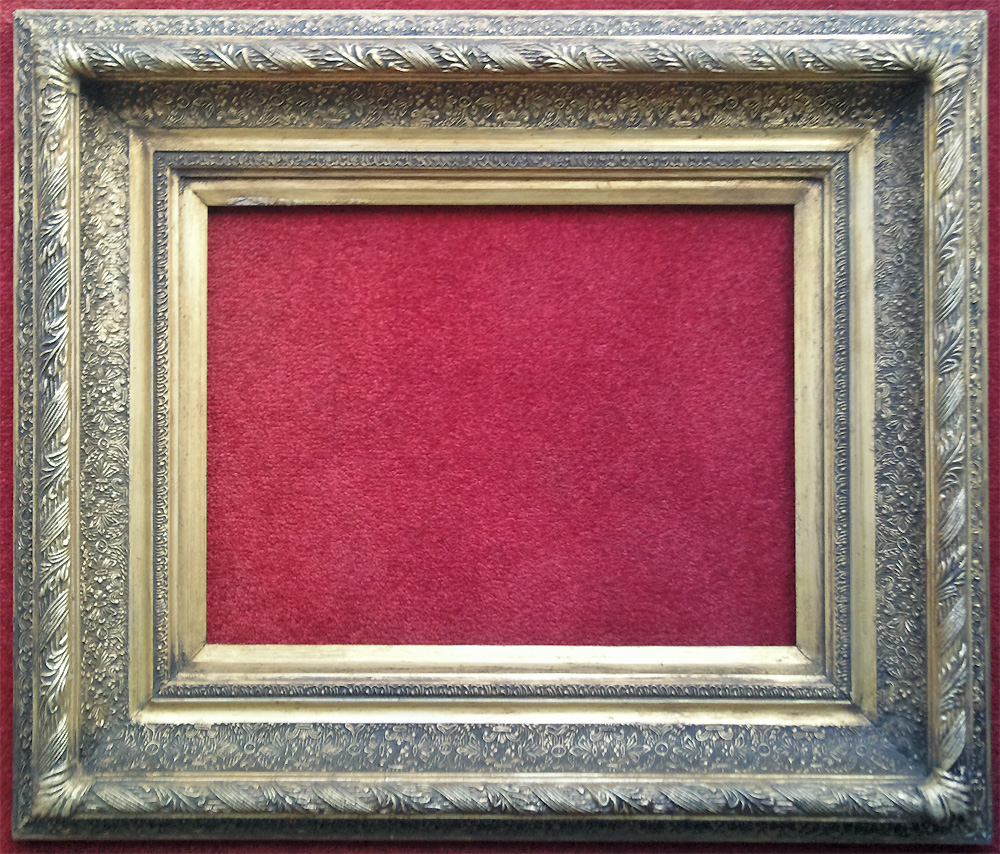
How to ‘Antique’ a Wooden Picture Frame
Finding an antique or distressed frame that suits the interior of your home can be a challenge and owning a genuine antique can require a lot of maintenance. A fun alternative is to create your own ‘antique’ frame and there are many different techniques to create that distressed look. Artistic license can be used to create something truly unique for your home.
This article is a guide to the most popular techniques.
Preparing the picture frame
- After choosing your picture frame, remove the glass and any extra parts, such as screws, to avoid damage.
- Decide on the colour scheme of your antique frame. If you are looking for a traditional-looking frame, use colours such as brown, grey and gold. For a bolder distressed look, you could go for colours such as red or blue.
- If your frame has a glossy feel, use sandpaper to remove the gloss and smooth the surface as this will speed up the drying process of the primer and paint.
- The decision of whether or not to use a primer depends on the style you are looking to achieve. If you want to utilise the original colour of the frame you may decide primer is not necessary. If, however, you are looking to paint a light colour on top of a dark frame, you may decide a primer is necessary to prevent the colour being dulled. For both primer and paint, use two layers to ensure effective coverage.
- Once the primer and paint have dried you are ready to start the ‘antiquing’ process. A wide variety of techniques can be used and you can mix and match them depending on the look you want. Practice makes perfect and if there’s a specific frame you want to distress you could buy a cheap, basic frame initially to practice on and get a feel for the effects of the different techniques.
Antiquing methods:
Making Scratches
Carefully use a fork, nail or other sharp object to create marks in the surface of the frame. Be careful not to apply too much force and make the marks randomly for a natural look. This can be done before or after painting the frame – doing it before allows the paint to settle into the dints and scratches, whereas after creates a damaged and aged look. Both methods are effective for creating a distressed look and the right one depends on the style you want for your frame.
Alternative methods are hitting the wood with a bag of screws, or using a hammer or chisel for heavier markings. However, if the frame is small, be careful not to cause too much damage.
Creating faded colour
Use sandpaper randomly around the frame to cause the paint to fade. Using different levels of force can cause different layers of paint to come through. For example if you have painted your top colour over a white primer with a lighter colour underneath, you may find that all three appear on your frame, giving it an even more distressed appearance. Another method is to put Vaseline on some areas of the frame, particularly the corners, for a more natural look before the final application of paint. The paint will not stick where the Vaseline is applied, so it can be rubbed off for a faded effect once it has dried.
Staining the frame
Stain the frame randomly in order to give a naturally distressed appearance. Certain staining gels are effective at staining paint. However, alternative materials such as shoe polish can be used to create a similar effect. Having distressed with paint, staining is not always necessary, but it can add an extra element to the frame.
The Finishing Touches
You may decide to cover the distressed frame in a clear coat to maintain the look; however this is not always necessary and is down to personal preference. Understanding the different ways of distressing frames can open up further experimentation and creativity. For example, why not create the same look on different styles of frames for a quirky and unique focal point in your home? Creating your own antique frame gives you the freedom to create the type of frame that best complements the style of your home.
Stop by and tell us about your experiments with picture frames on Facebook and Twitter.


