Moving onto Macro -Basics of Photography Series Part 14
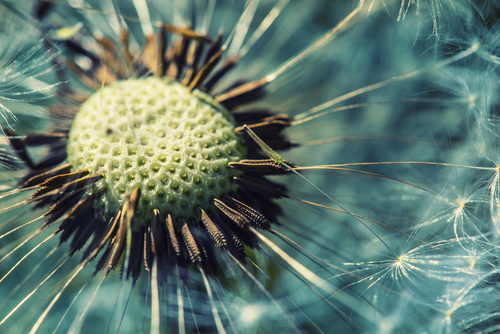
We’ve all seen those beautiful photos which capture every minute detail of a single flower, a pausing bumblebee, beads of dew hanging from the leaves. What can we do to create our own exquisite close up shots?
You may have already read our Basics of Photography Part 5 – Taking Great Close-ups, but in this blog we will be going into the specifics of macro photography.
Macro photography, as it’s called, is the magnification of your photographic subject, as well as the increase in the depth, texture and size of a subject from around half-life size (on image sensor) to 5 x life size.
The Steps to a Great Macro Capture:
Compose your shot
To compose the perfect shot take a look at our past blog. The best way to find the perfect shot is simply to wander round with your camera getting up close and personal with the world around you through your viewfinder.
Next you want to focus your shot; rearrange possible obstructions/disturbances appearing in your frame, and find the right angle for the shot before positioning your camera. Don’t forget to examine the background to check it’s free from disruptions.
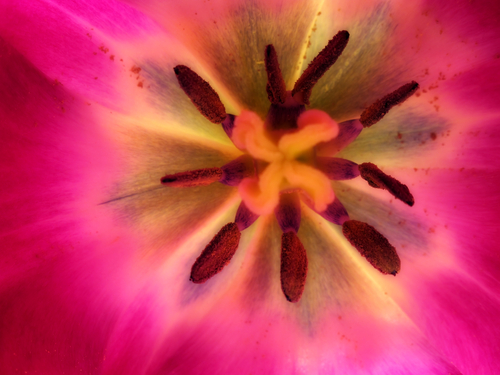
Positioning your camera – Steady does it
For macro photography it’s key that you have as little movement as possible, not only from your subject but also from your camera. Because of this it’s always worthwhile having a tripod on hand to fix your camera steady in place. For extra precision in your shot use a remote shutter release.
Minimise subject movement
Likewise with securing your camera in position you need to ensure the object/focal point of your shot isn’t going to move too much so try to minimise movement e.g. plant a stick in the ground to tie plants/flowers in position to limit impact from any passing breezes and use a faster shutter speed.
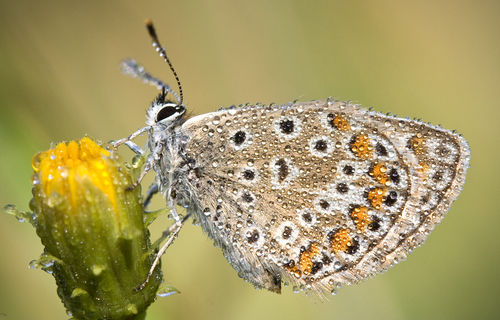
Lighting
Due to your camera being so close to the subject you will want to avoid using a flash to better light your subject, as it will simply overexpose the shot. Instead look to go out with your camera during the golden hour when light isn’t overpowering, and then use reflectors if you can to better illuminate your subject.
Great DIY reflectors are white paper or card, tin foil and even opaque white tupperware lids.
If you need to use a flash then look to using an external rather than built in one when taking macro photo, as the closeness of the flash to the subject will cause a shadow.
Get Focused
Sometimes your subjects just aren’t going to keep still ( e.g our creepy critters!), and this is where Auto Focus in particular can prove to be a hinderance rather than help, as it will continue to refocus each time movement occurs. Instead with macro shots it’s better to turn off auto focus to make your job easier.
Focus stacking: Many people choose to focus stack their macro shots, meaning they take numerous photos of the same subject but with different areas of the shot in focus. This works by slowly adjusting the area of focus so that you will allow for more depth of field when you eventually layer and then ‘stack’ the images to create one beautifully sharp focused macro shot with the best bit of each photo.
Exposure
As with macro photography you are using a smaller lens aperture in order to gain the best possible sharpness in your shot and depth of field, you will need to extend the exposure time in order to let in more light. Consider investing in a macro lens, as many are equipped to balance any additional exposure.
Top Tips:
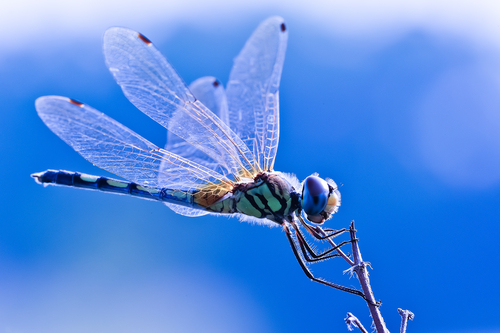
- Set the focal point so as to blur everything else in the shot (barr your subject) – to do this simply choose the widest aperture and angle your camera so that its not facing your subject straight on.
- If you’re looking to capture an insect then the trick is to see if it will let you up close, and get snapping asap. Don’t forget to make sure all your settings are ready for the go!
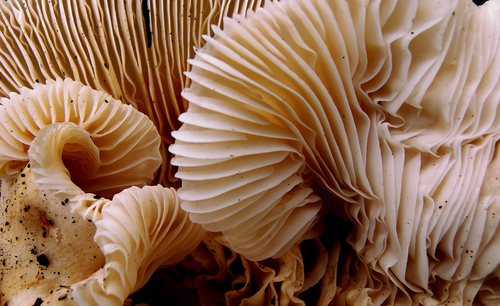
- Look for naturally occurring patterns; fungi are particularly good for this. Look to fill the frame of you shot with the pattern details for a powerful finished shot.
