Guide to Using Light- Basics of Photography Series Part 12
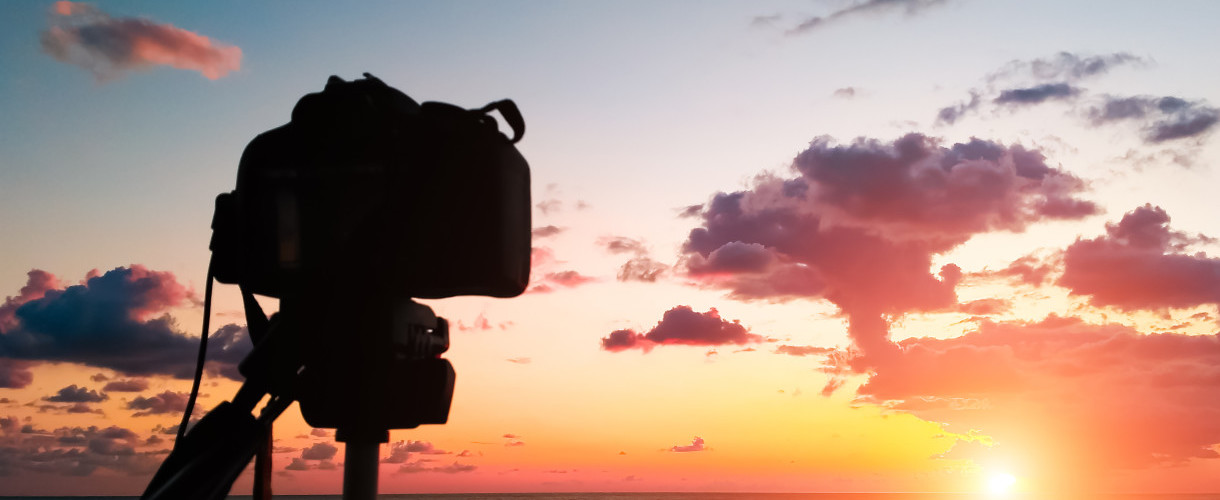
Light is at the core of photography, it’s the most important thing. Without that opening of the shutter to allow in the light the photo would not appear as the camera sensor could not pick out any details. Having knowledge about the different types of light sources and the best way to implement them in your photography, can take the photographer to the next level of composing, creating and capturing images.
The most crucial skill photographers can pick up is the method of utilising natural light available or employing artificial means to pull off a capture of a subject which is complemented by lighting. In this month’s basics of photography series we give you a guide to photography lighting jargon and the best uses.
Ambient Lighting
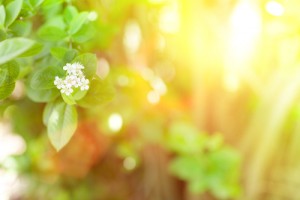
Ambient lighting is the other word for ‘natural lighting’, so it is the light that exists without any additions solely for the purpose of an image. The sun is of course the strongest ambient light available.
Artificial Light
Artificial light is predominantly used to replicate and manipulate lighting in a photography and the way it interacts with the subject. It is particularly useful in a studio environment when natural light is minimal for the setting.
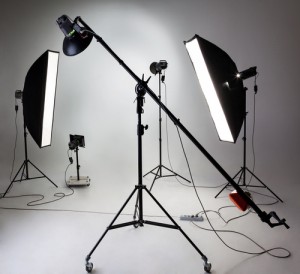
The five most common types of artificial light are built in flash, incandescent, LED, studio strobe and fluorescent:
Soft Light
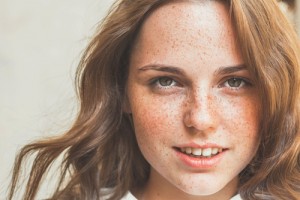
In its simplest form soft light is the diffusion of light which makes shadows less defined and disruptive to the subject. Instead you get a gradual shadowing on the subject for a softer finish. Soft light is generally the photographers choice for portraits, this is because the diffusion of light means it wraps around the skin and its texture so things like blemishes, wrinkles or pimples are not shown.
To create soft light surprisingly you’re looking to make the light (not the source) larger e.g. through the use of an umbrella, also when taking a portrait, rather than moving away to create a smaller light source you move closer to create a soft light.
Hard Light
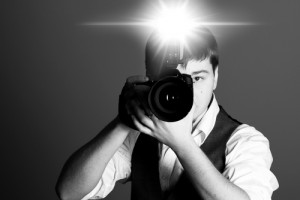
In contrast to soft light hard light creates shadows with harder edges which can either work to better enhance a picture or create unwanted focus. The harder the light the smaller the length of transition between light and dark. Hard lighting isn’t diffused is usually produced from a single point light source e.g. the sun or the flash of a camera.
Hard light is generally avoided for portraits as it tends to highlight blemishes however some photographers favour the use of hard light to create more dramatic shadow effects and contrasts, bringing focus back to the models features and away from any surrounding environment.
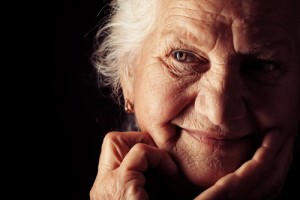
Hard vs. Soft Light
Ultimately there is no right answer it really depends upon the look you are trying to achieve with your capture and the specific interaction of the light with your subject- e.g. with a landscape are you looking to achieve long shadows, or are you looking to capture with less shadows/ on an object smaller than the shadows. The smaller the transition length of light to dark the harder the light source.
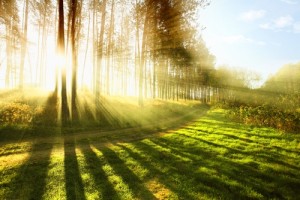
Low Light
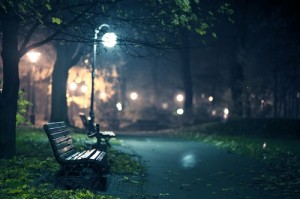
There are three main types of low light- visible, low light and dark. Visible low light tends to be the more dramatic of the three and is created by standing in a shadowed area or under cover looking out. Low light is recognised as being after sunset whilst things are getting dark, and dark lowlight occurring just then, after dark when the most visible things are the brightest objects.
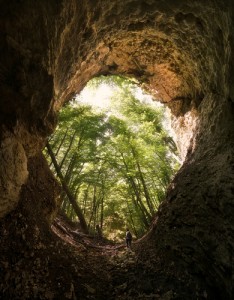 |
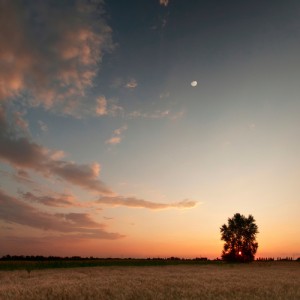 |
 |
Exposure
There are three factors that come together to produce exposure;
1. The Aperture
2. The Shutterspeed
3. ISO
For a full guide to exposure visit our Guide to DSLR Camera Settings.
