Panoramic Photography- Basics of Photography Series Part 10
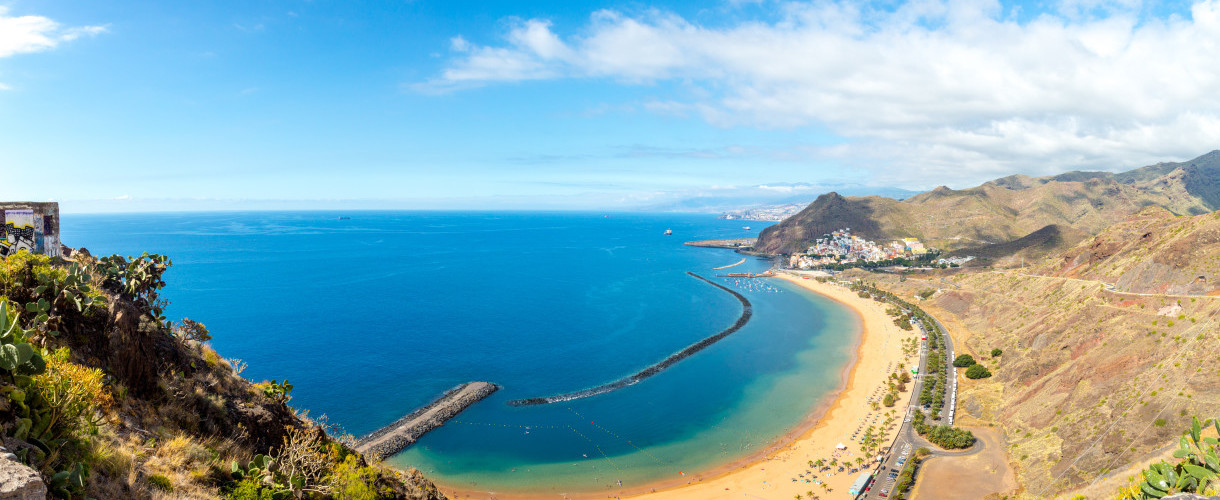
The new age of smartphones now make panoramas but how do you achieve this same effect but with your trusty DSLR. In this month’s Basics of Photography Series Part 10 we are going to guide you through the steps to achieve the perfect panoramic shot; smartphones today may make panoramas look good but with a camera you can take the views to a whole new level of detail and scope.
Panoramic shots are great for landscapes, cityscapes and architecture; capturing those breathtaking views which in everyday life have you turning your head just to take it all in.
By ‘stitching’ together a number of shots you can create one photo which captures the wider view.
Picking your shot
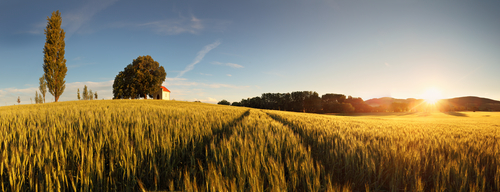
Unlike with standard photography, panoramas take more thought on identifying and the setting up of your shot. For one thing you should consider both the movement of things in your capture and also whether you are able to move your camera efficiently to take the shot (whilst maintaining the level). Any movement whether shaking of the camera or in the image can cause blurring which makes post-production merging is a lot harder.
Because of this landscapes tend to be the favourite shot of panoramic photographers as there is less likely to be visible movement captured in a long sweeping landscape. As you are looking to create a photo which better captures the feel of being in the environment as you are creating a wider image which allows the viewer to take more in, panoramic photography does take more planning than spontaneous point and shoot. You want to find a view which makes you want to see more and take it all in.
Setting up your camera
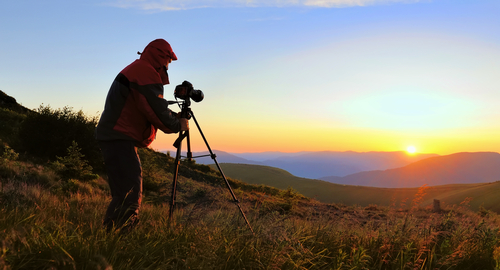
The most important things to consider when setting up your camera for a panoramic shot are keeping it level and maintaining settings.
If you can utilise a tripod to capture the image this will help stabilize your camera, make it easier to turn by using a ball head and also keep it level using a bubble level so line of sight is always the same.
Lastly when considering the lens to use, although you would expect a wide angle lens to be best it can actually prevent matching in post production as the edges of the lens view gets distorted slightly in the lens. Instead use your standard lens (18-55mm) with standard settings in play and leave the same throughout the shoot. (set your camera to manual so auto doesn’t take over settings part way through).

Taking the Shots
To get the shots right to create your panorama you will want to have a slight overlap in each of your shots. Memorise the point on the right side of your image when you take your first shot then keeping your camera level pan right and stop when the original right point is now a third of the way from the left edge of your picture. Here you can then take your second shot. Continue this process, keeping an overlap in your shots.

Combining your pictures
To combine photos you are best using the Photomerge option in Photoshop Elements. To get to it simply open up each of your shots for the panoramic and then in Photoshop go to file Auto Photomerge. In the layout area select Cylindrical which minimises cropping requirements after merge. Photoshop will then begin merging and adjusting perspective to create your view, then simply crop the image edge to removes gaps.

Mixing it up with Panographs
Looking for something a bit different? Why not try a panograph, these require a lot less precision as you are looking to create obvious edges to each of your shots; a sort of photo collage. You still need to shoot the scene so it is overlapping (no gaps), however there is no need to get everything straight and lined up- visible differences are encouraged (including in colours/settings)!
If you have people moving through your shot this makes panographs even more fun with people cut off or appearing in more than one frame, buildings become more distorted shapes and the scene becomes fractured.
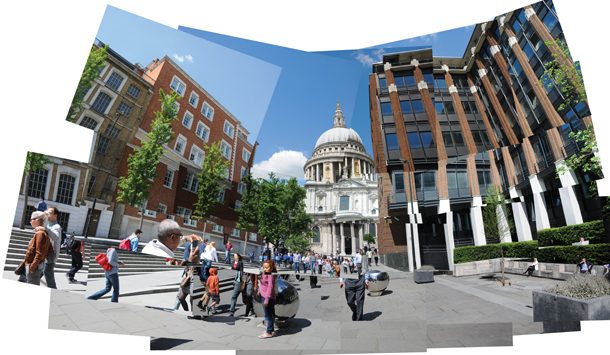
- Source: Digital Camera World
Share with us your panoramic shots ! Get in touch with us on Facebook or Twitter
